Visuals are key to any digital brand’s web presence. Here are 5 tips you can use to optimize images for the web.
A Picture Is Worth 1000 Words
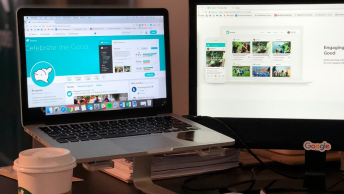
A modern digital brand needs both sparkling copy and images to succeed on the web. Many people are visual learners.
Many studies have also been done on visual memory. They overwhelmingly come to the conclusion that people remember pictures way better than they do what they read.
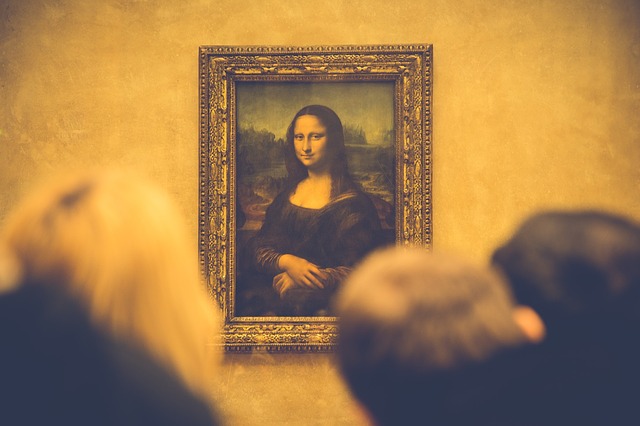
According to one influential study, those tested could recall 2000 pictures with 90% accuracy over days of testing.
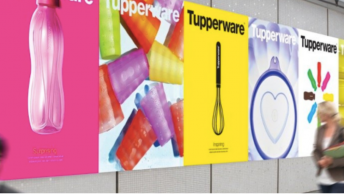
This means that if you want people to remember your digital brand, you need to get visual! Here are some tips to help make sure you get the most from every visual you use.
SEE ALSO: 5 Ways to Make Your Blog Visually Appealing
1. Save Images In The Proper Color Space
There are actually 2 different color spaces that computers use to show images. Keep this in mind when you optimize images. These are:
- RGB: Red, green, blue. The standard for digital devices
- CMYK: Used by printers
You want all of the images you use on the web to have its colors set to RGB. This will make sure they appear bright on the web.
If you have a file set in CMYK, don’t worry. You can change it easily using a program like Adobe Photoshop.
2. Compress The File Sizes
When you save images for the web, you want to make sure your images
However, you also want your images to be clear and not pixelated. If you opt for too small of an image size or the wrong compression settings, you might sacrifice image quality.
Generally, the right compression settings fall between 70-80%. This is often the most you can do with degrading image quality. However, this will vary depending on a few factors, like the original image’s file size and format.
You can use a free tool, like Imagify, to compress images and optimize them.
SEE ALSO: How to Legally Use Images in Your Digital Branding
3. Use The Right File Format To Optimize
There are 4 main file formats used for saving images and graphics. These are:
- PNG
- JPG
- GIF
- SVG
Each format has different pros and cons and different uses. Which you choose will depend on different factors, such as if an image is a raster or a vector.
Pixel-based programs create raster images. You can also make them with either a camera or a scanner. They have a limited number of pixels, which means that they lose their sharpness and become pixelated when scaled too large. They should be saved as PNG, JPG or GIF files.
Vector images are specifically created with vector software. They can be scaled up infinitely without losing any quality. If you save vector files as SVG or GIF files you can size them up infinitely. If you save them as a JPG or PNG file, you lose that capability.
JPG or JPEG
JPG is the most common raster file format for images. It has the smallest file size, is best for high quality photos, and is compatible across the web and devices. However, they lose quality when compressed too much and do not support transparent backgrounds.
They are best for still photos and photos without transparent or colored backgrounds.
PNG
PNG is a versatile and common raster format. It supports many colors, transparent backgrounds, and alpha channels. In fact, they can show over 16 million colors.
PNG can be compressed without losing as much quality as JPG. However, this format tends to have larger file sizes. It also does not support animation. This format is best for graphics with sharp edges, text graphics, icons, logos, and various other designs. PNG us best for graphics that need to be placed on non-white backgrounds.
GIF

GIF is the raster format for moving or animated images and messages. For example, the image above is a GIF. This format also supports transparent backgrounds.
With this format, the visual quality and size depend on the number of colors. More colors leads to a sharper image, but also
SVG
This vector format lets you have sharp graphics and control over the objects you post on the web. Vector programs like Adobe Illustrator and Inkscape create files in this format.
SVG allows you small file sizes, infinite sizing up of the image without quality loss, easy flexibility, and can be animated. Image quality and the number of colors and file size are interlinked. You are limited to 256 colors also. This is similar to the GIF format.
4. Export Multiple Sizes For High Pixel Density Displays
It’s no secret that mobile devices are taking over when it comes to viewing digital content. In fact, mobile surpassed desktop as the primary way people browse the web back in 2016.
Mobile devices actually have higher resolution screens than many desktop computers. Their HiDPL Retina or high density displays have over 200 pixels per inch (PPI) and the standard for most desktop computers is only 72 PPI.
If users access an image on their mobile devices made with PPI of a desktop computer in mind, it might not look crisp and professional.
You want to be sure to save out all of
SEE ALSO: 5 Steps To Getting More Engagement With Your Visual Content
5. Upsize Smaller Pictures By 115%
If you have a smaller raster image that you need to scale up the size of, you can do this incrementally by 115% in Adobe Photoshop. This will help to keep the pixelation of the image to a minimum as you make it bigger.
Optimized Images Means A Better Online Presence
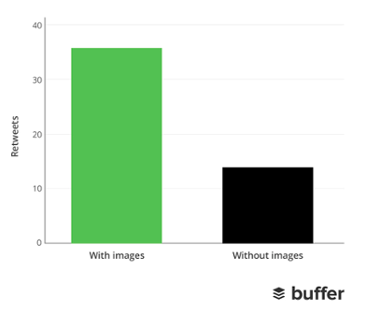
People respond to visuals. One staggering example of this is on Twitter, where tweets with images get 150% more retweets than those without them.
Ultimately, your copy and use of images need to work together in order to create a strong digital brand. Whether you use graphics or gifs, they need to show up clearly. This is incredibly important. It can shape the opinions people have of your digital brand.
When it comes to e-commerce, it can stop people from purchasing your products at all. If people cannot clearly see your products based on your images of them, they will be unlikely to buy them. You don’t want to alienate customers by forgetting to optimize visuals.
You don’t want images to be blurry, pixelated, distorted, or to show up incorrectly on mobile devices. This looks unprofessional and can also make potential customers and clients form a negative first impression. Instead, you always want your images to be crisp, clean, and clear on every device.
Keep these helpful tips in mind to keep your visuals crisp, clear, colorful, and in the right formats for all of the different applications that you will need.
What visuals do you think are the most helpful when it comes to digital branding? Comment below.